

hosted_funding_url, a payment page for that intent alone. It
shows your logo and colour, lets the user pick how to pay, shows exactly what to send and
follows the payment through to completion.
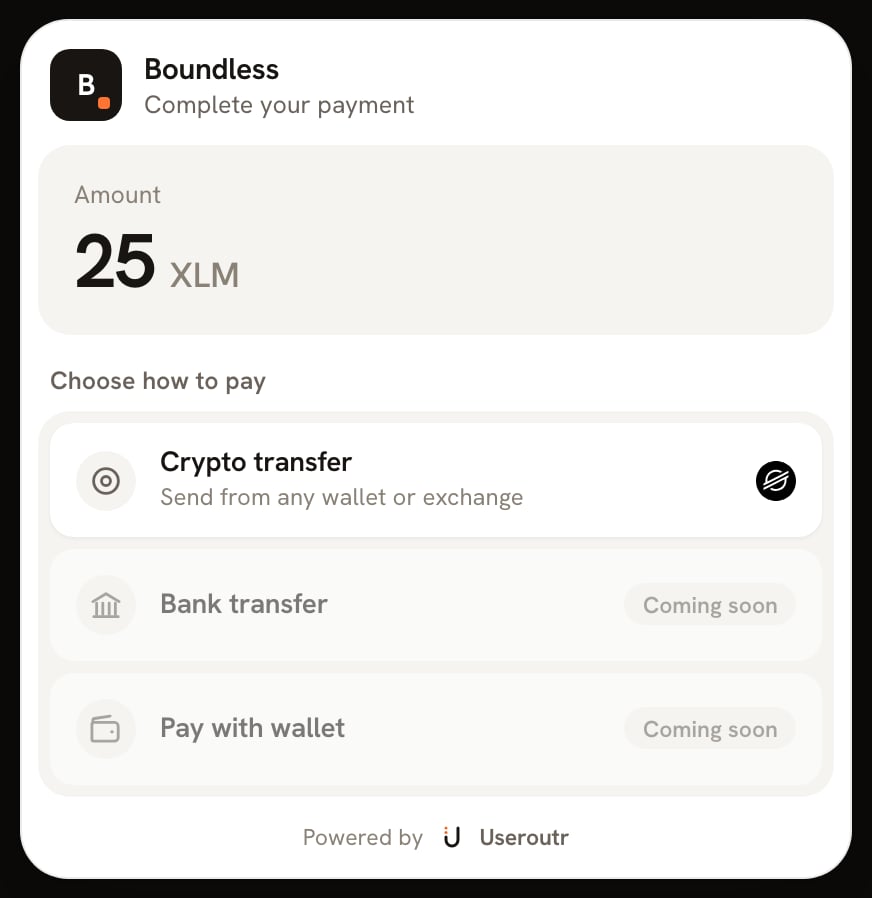
The hosted checkout for a 25 XLM funding intent
Create the intent and redirect
Create the funding intent on your server, then redirect your user to its page.app/checkout/route.ts
Fulfil on the webhook
The page tells your user when their payment is confirmed, but your server should fulfil the order when it receivesfunding.credited. That event arrives only once the payment is settled
and your ledger is credited, and it arrives even if your user closes the tab.
What the page handles
- The ways your user can pay, with the amount due in the asset they pick.
- A deposit address and exact amount, with copy buttons and a QR code.
- Partial payments, which it keeps asking to complete.
- Expiry: once
expires_atpasses, the page stops taking payment. - Your branding. Set your logo and colour once in the dashboard; see Branding.